Photographing Lightning Bolts with the Z 9 Pre-Release Burst Mode
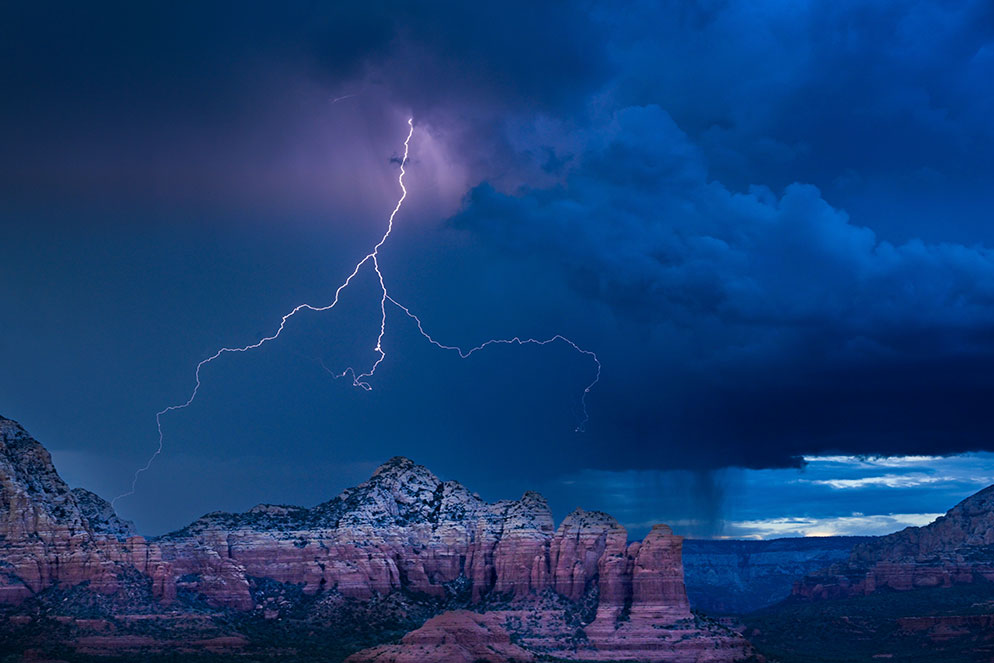
Z 9, NIKKOR Z 24-200mm f/4-6.3 VR lens at 65mm focal length, 1/60 second, f/8, ISO 500, Aperture priority.
If you’ve ever tried to photograph lightning during the day, you know it’s almost impossible. By the time you press the shutter button, it’s gone. That’s why lightning triggers exist.
A lightning trigger is a device that is attached to the camera to capture lightning... because most often you aren't able to hit the shutter button fast enough.
A recent thunderstorm resulted in a new “A-ha!” moment for me. The “Pre-release” Burst feature in the Nikon Z 9 camera may just make those devices obsolete.
Z 9 firmware 2.0 added the Pre-Release Burst feature
Among the many features added to the flagship Z 9 with the release of firmware version 2.0, “Pre-release Burst” was an eye-opener. Mainly a feature for action photographers, it allows you to keep your finger on the shutter button (pressed halfway) and when you see action, and you press the shutter button all the way down, the camera will save up to a full second’s worth of images from before you pressed the shutter all the way.
Pre-Release Burst is a game changer in more ways than one! By using the Z 9’s Pre-Release Burst, you’re giving yourself the best opportunity to capture as many images with lightning bolts visible in the frame.
By pressing halfway down on the shutter button, the camera starts buffering images at 30 (or 120) frames-per-second in a continuous loop. When you see action happen, press the shutter button completely and the camera records that last one-second of action it was buffering onto the card. In other words, it goes back in time to capture something that’s already happened. So the camera is allowing me to react to the lightning before it even strikes.
And it makes photographing lightning incredibly easy.
I found that if I kept the camera up to my eye, and each time I saw lightning, I pressed the shutter down fully then each and every time I’d end up with lightning pictures. Often I’d end up with several lightning photos from one lightning flash.
So what’s the catch? You can’t shoot RAW—only JPG when using the Pre-Release Burst setting, but you can capture full-resolution 45-megapixel images when you set Continuous Shooting to 30 frames per second. Setting the option to shoot at 120 frames per second, will save 11-megapixel images. But still, wow.
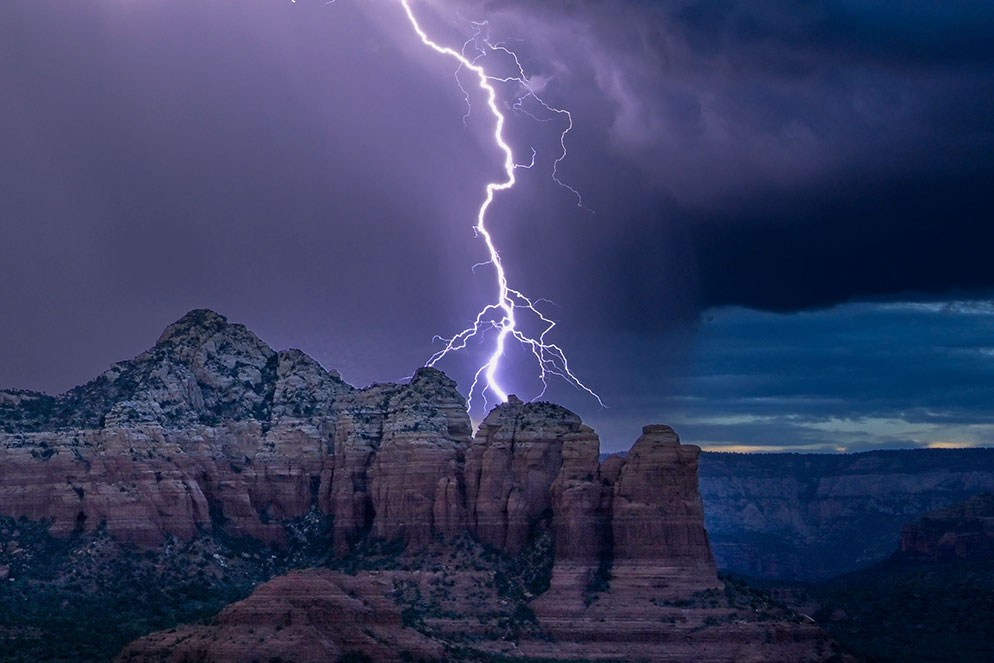
Z 9, NIKKOR Z 24-200mm f/4-6.3 VR lens at 65mm focal length, 1/60 second, f/8, ISO 320, Aperture priority.
How to set up Pre-Release Burst
With a Z 9 using Firmware 2.0 or greater, go to the Custom Settings Menu, choose ‘D’ Shooting/Display, and select D4 C30/C120 options. Choose Pre-Release Burst and set the amount of time you want to record images before pressing the shutter. Choose one second to get the most frames possible. With Post-release capture. Leaving it at Max means the shutter keeps firing until you stop pressing it (or until the buffer fills up).
Next, turn the release mode dial all the way to the right to choose Quick Release Mode. Now, using the frame advance button on top of the release mode dial, choose your frame rate. For Pre-Release Burst, choose either 30FPS or 120FPS. These high-speed frame capture modes will only shoot in JPG.
How Pre-Release Burst works
Once Pre-Release Burst is set, you can confirm everything is working by looking into your viewfinder. At the bottom of the viewfinder there will be a ‘Pre’ symbol indicating Pre-Release Burst is activated. When you press the shutter half-way down (or press the AF-ON button if you’re set for back button focus), a green dot appears, indicating the camera is buffering images. When you hold the shutter release all the way down, one second worth of images will be instantly recorded in addition to the burst of shots taken after you release the shutter.
Tip for photographing lightning at night
When shooting lightning at night, I find it easy enough to use a time exposure to capture the lightning streaks in the frame. I’ll often use an exposure of .5 second (half of a second) or so utilizing the camera’s intervalometer to shoot consecutive exposures with an interval of 5 seconds in between each frame.


