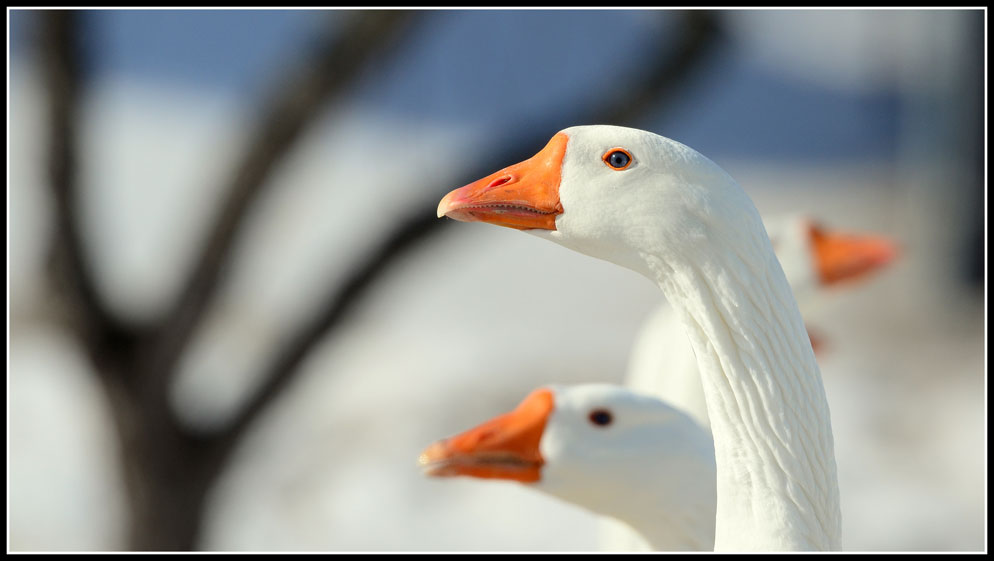
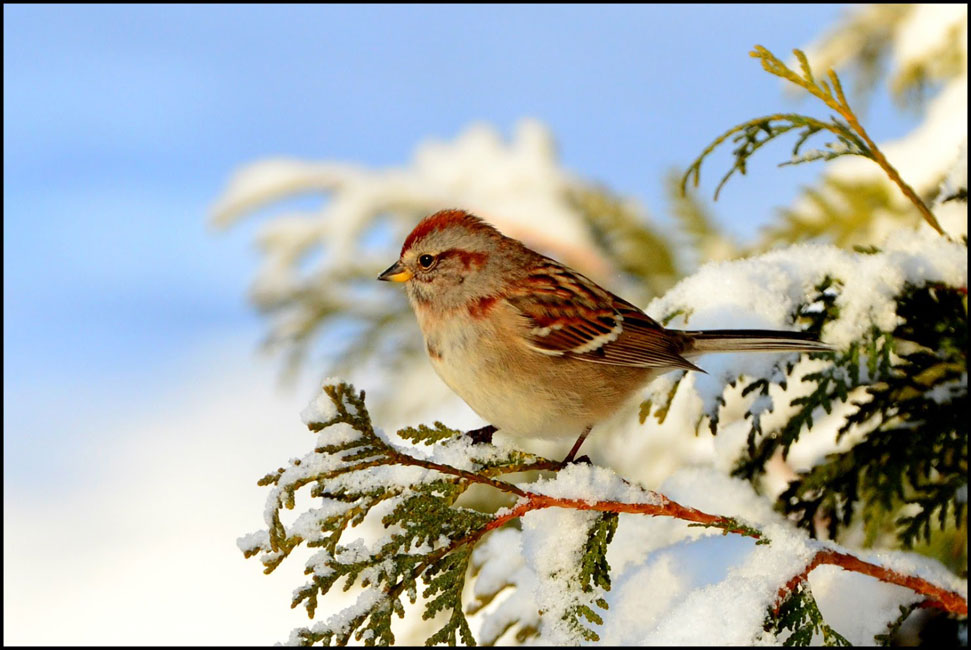
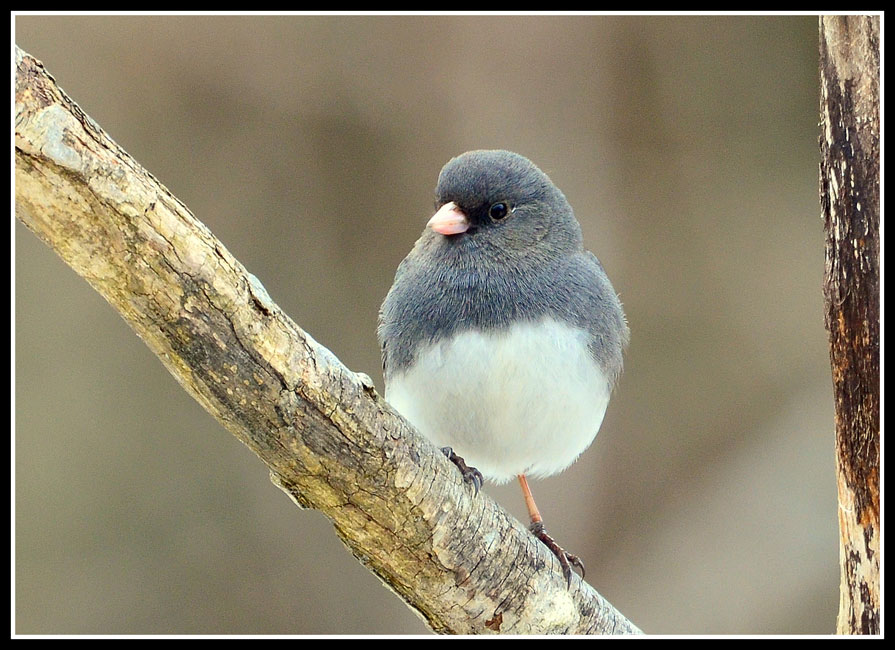
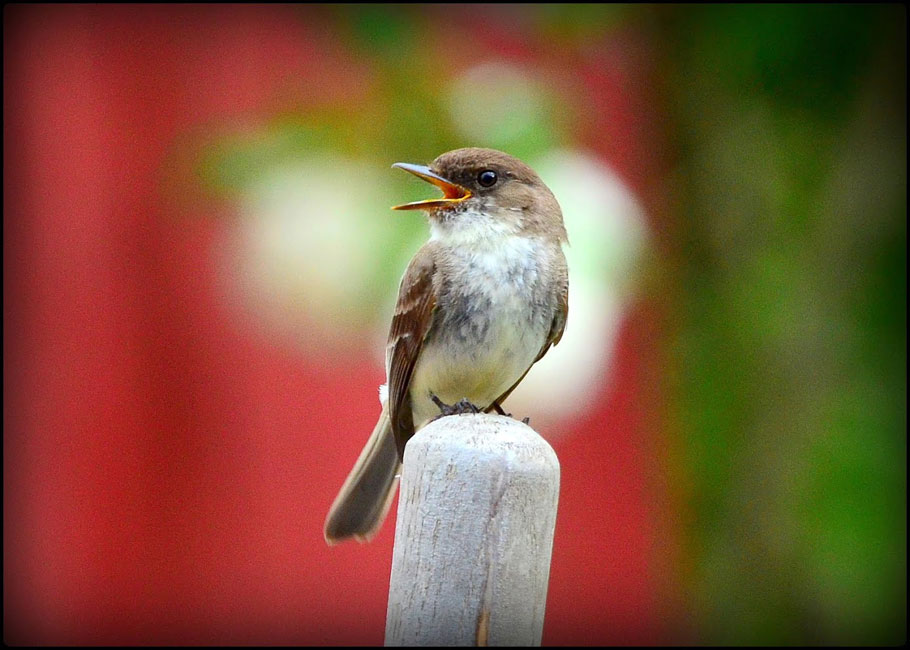
Fast Frames: A Quick Guide to Bird Photography
Birds. They don't pose, they perch. Mostly they eat. Then they look for more to eat. They fly some, too.
All of the above is from a photographer's perspective. Ornithologists will tell you a different tale, but here at Learn & Explore we have Matt McRay to talk about getting photos of members of the feathered community.
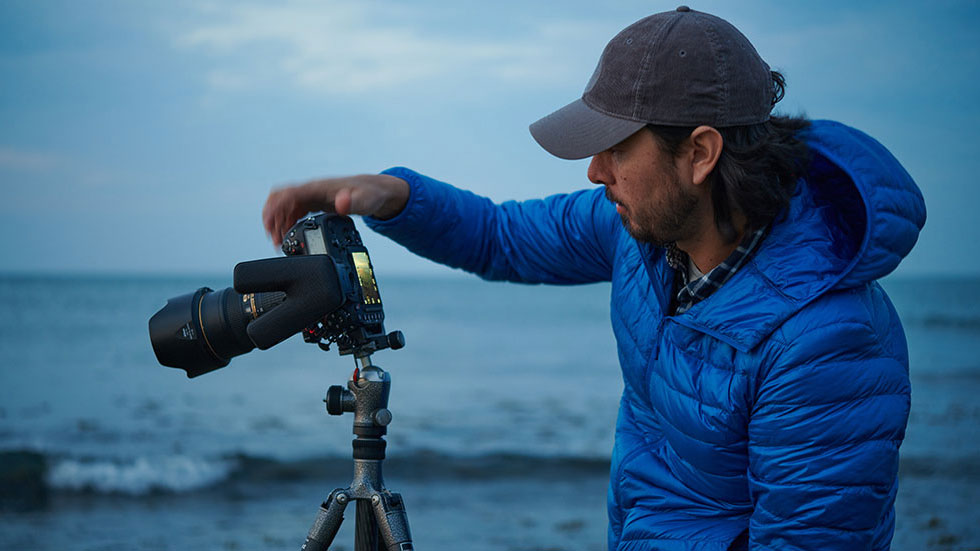
Matt's images of birds appear to be rather casual, as if it were simply a matter of see the bird, photograph the bird. And in truth, some of his photos happen that way. But the majority are the result of knowledge of bird behavior and the planning and preparation that takes full advantage of that knowledge.
Here's what we learned from The Matt McRay Method of Bird Photography:
The Welcome Mat is Out
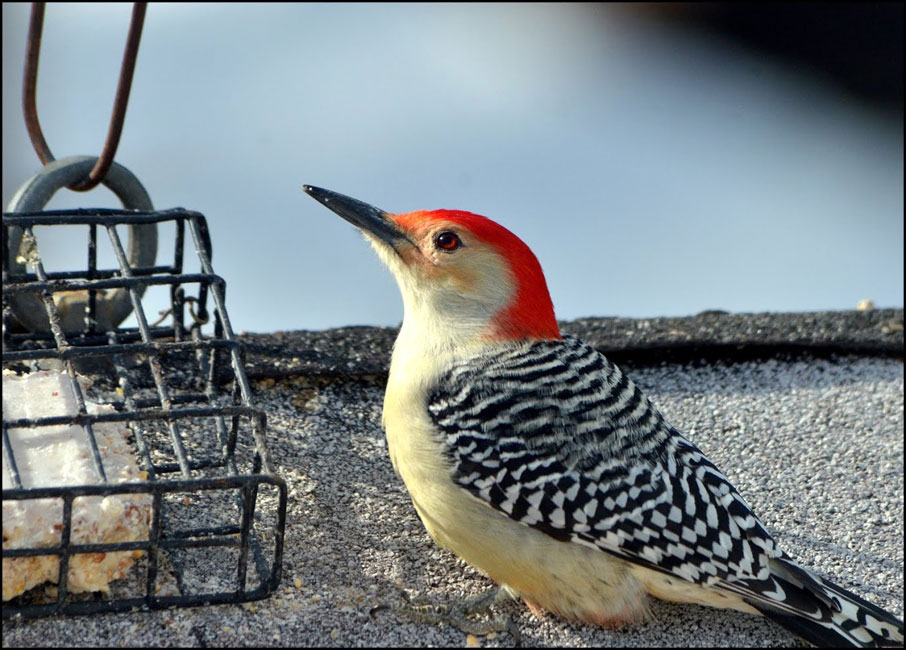
A satisfying way to start bird photography is simply to invite your subjects to come to you, and you do that by putting up bird feeders. Early on, Matt shot most of his bird photos from inside his house, so he positioned his feeders with his position in mind. "I set them so I could photograph toward four feeders from one window," he says. The feeders are, he adds, "properly lit by the afternoon sun." He also made sure the feeders were accessible to the birds only from the side from which he'd be shooting. And he offered birds more than feeders—for example, he planted Rose of Sharon and hibiscus, "and every year I know there will be Ruby-throated Hummingbirds feeding in front of those plants. And I planted one of them in a spot that gave me the proper lighting angle in the afternoon."
Make Yourself at Home
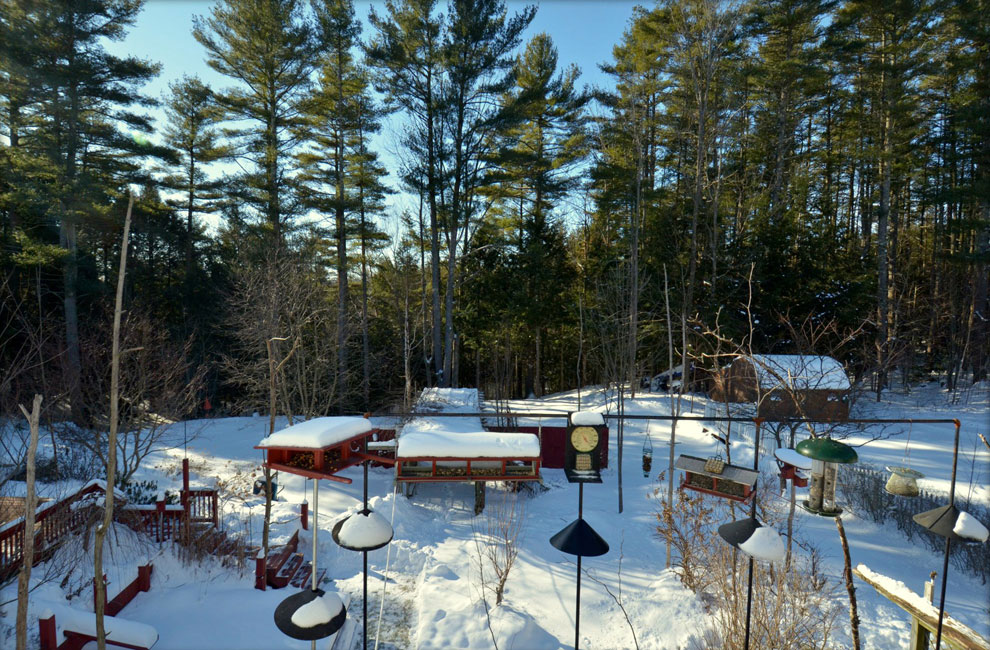
"You need to provide an environment in which the birds are comfortable and safe," Matt says. "I've built a couple of bird feeders and modified some others with roofs so that when there's foul weather the birds will have shelter as they feed, and the birds' food will be protected; if bird food gets wet, it turns moldy within three days. Some of the feeders have Plexiglas barriers forming cubicles for the birds." He's also squirrel-proofed all the feeders with domes at the top or inverted domes fixed to the bottoms. "An important thing in making the yard bird friendly is to be sure you keep food out all the time," Matt says, "though less in summer, when they don't need as much."
Steps Beyond
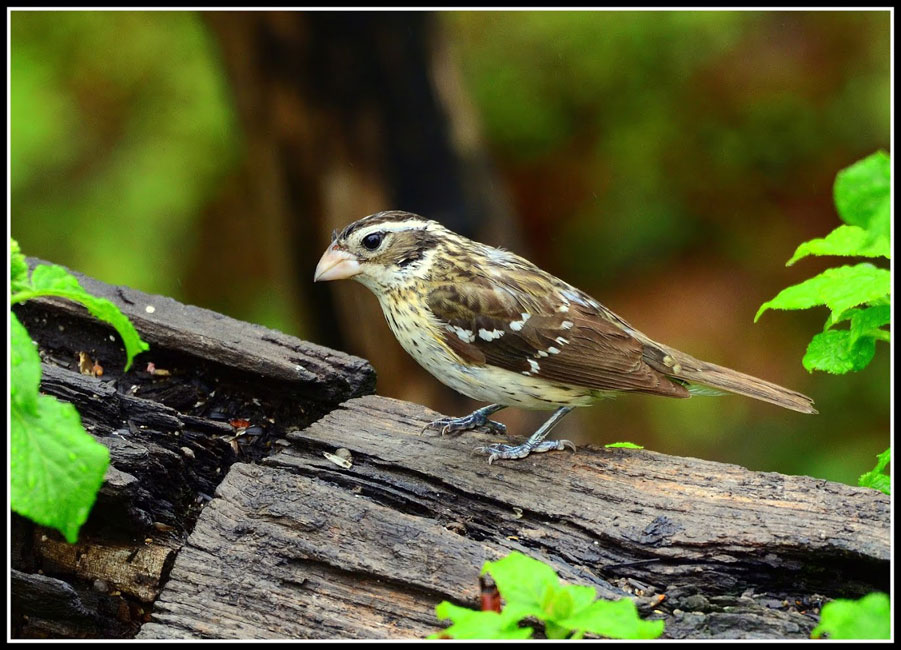
Matt lives in a wooded area of Maine, so there are steps he can take that might be beyond most bird photographers. For instance, he built on his property a running-water pond that signals to birds that water is always available. And he keeps an eye out for small fallen trees or tree limbs that have been on the ground for a while. "Inside the decayed tree could be bugs," he says, "and birds will be attracted—woodpeckers especially." He can easily drag these trees or limbs into position for his photography. "The key is to get a limb that has perches that will be friendly to birds."
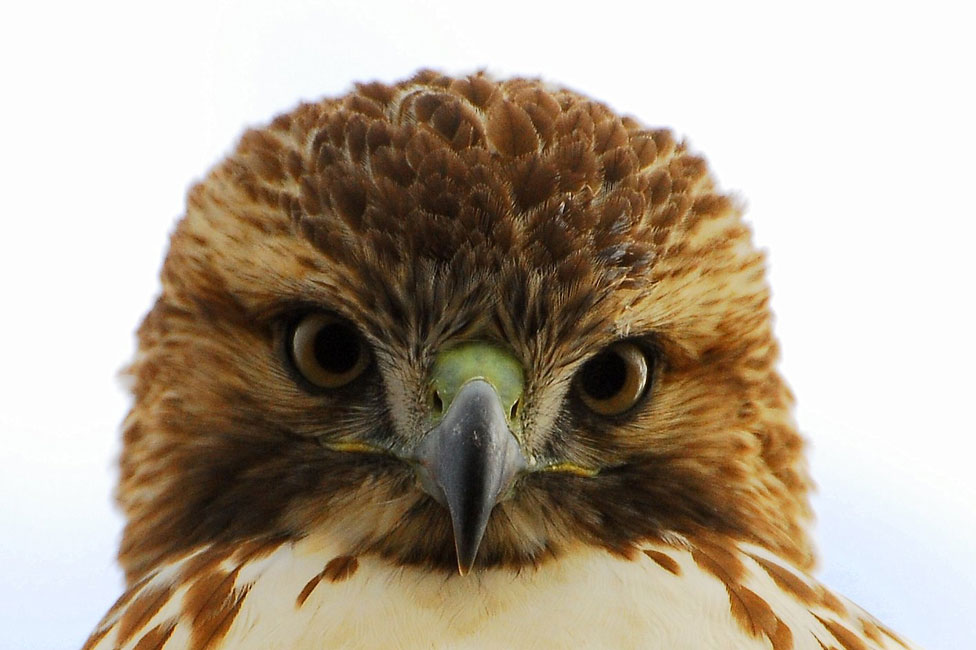
"I met this Red-tailed Hawk at an Audubon site in Falmouth," Matt says. "I spent time with him every week, year round. He got used to me and would walk up within three or four feet. When I approached him I'd whistle the same song every time, and he'd turn and look at me. It was as if he were thinking, Oh, it's Matt, no worries." D200, AF VR Zoom-Nikkor 80-400mm f/4.5-5.6D ED, 1/640 second, f/5.6, ISO 800, manual exposure, Matrix metering, hand-held photo.
A satisfying way to start bird photography is simply to invite your subjects to come to you, and you do that by putting up bird feeders.
Fact Finding
It's important do a little research to find out what's going on with the birds in your backyard, your neighborhood and your area. information is plentiful and easily found. "There are various smartphone apps that'll tell you where the birds are," Matt says. "Sightings are reported, bird call sounds are given." There are also guidebooks and the Audubon Society's website. "What's particularly cool for a bird photographer," Matt adds, "is not so much knowing what birds are seen in the area, but knowing those that are seen rarely. I like to get those in my yard. Here we don't get a lot of Baltimore Orioles, but come June 1st I start putting out orange halves near the bird feeders. If there are Orioles passing through the area on their migration pattern, they'll find those oranges."
Out of the Backyard
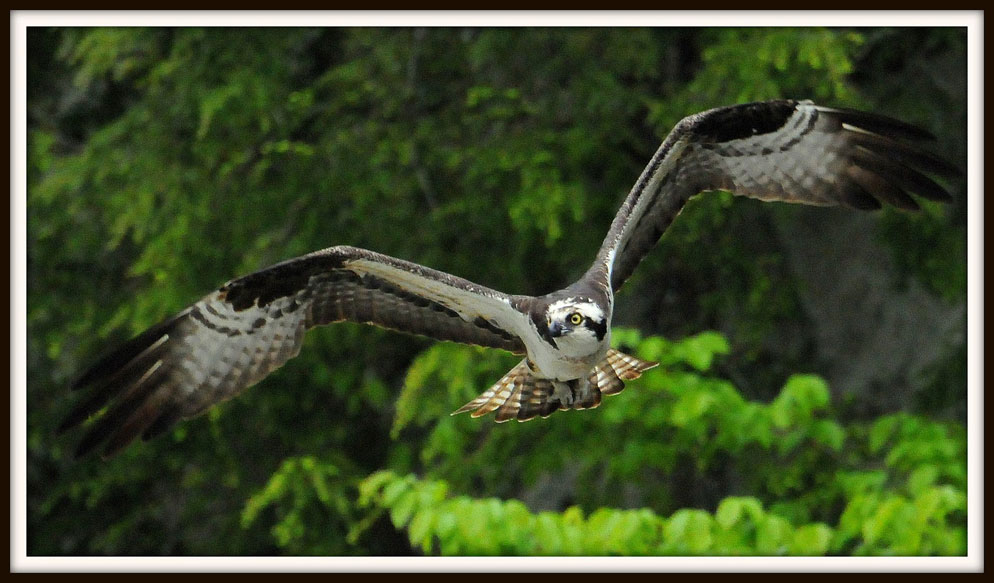
"There's something special about getting photographs of an osprey diving toward water, then pulling out a fish," Matt says. Because there are suitable spots 15 minutes to an hour from his house, he has lots of opportunities to get those pictures. "In one particular spot at a nearby river I've learned that fish are there more often at low tide, so that's when I go there to photograph the osprey coming in for the fish." Nearby there is also a pair of bald eagles who are year-round residents. "They are always around," Matt says, "though I don't always see them." Which brings him to an important point no matter if you're in your backyard or out exploring: "Most people have been looking at birds for years, but always at eye level or even a bit down, and if you keep doing that you're going to miss the big birds. So I started looking up and every week I'll see a bald eagle or gulls that shouldn't be 20 miles inland from the coast; or I'll spot turkey vultures. If you want the hawks, the ospreys, the eagles, you've got to first determine where they are and then be willing to put in the time at that location, looking in the right direction." No river near you? What about parks, wildlife preserves, marshlands, sanctuaries, gardens and arboretums? "Split your time," Matt suggests. "Half the time going to the spots you know and half seeking out new spots."
The Gear Part
Bird photography generally calls for high shutter speeds, but hand-holding is definitely possible with, Matt says, "a proper stance"—legs wide apart, elbows in tight; when inside the house, a windowsill can offer great support. Not to mention the support of the VR setting on your lens.
Whether you're using a superzoom point and shoot camera, DSLR or mirrorless camera with a telephoto or super-telephoto lens, following some tried-and-true tips to finding birds in the wild or welcoming new visiting birds to your backyard—you're sure to make great photographs.
Matt's yard offers birds a variety of well-stocked, hand-made, customized, weather protected and squirrel-proof feeders. Come and get it, guys.

